Ultimate Inexpensive Large Planter Ideas
Inexpensive large planter ideas are easy to find and easier to make. Cardboard is a great re-useable resource, to make papercrete, and to use as a form for simple planters. The cost is mainly in buying a bag of concrete. There are lightweight options if you do not want heavy concrete containers. We give you step-by-step illustrated instruction.
What Is Papercrete?
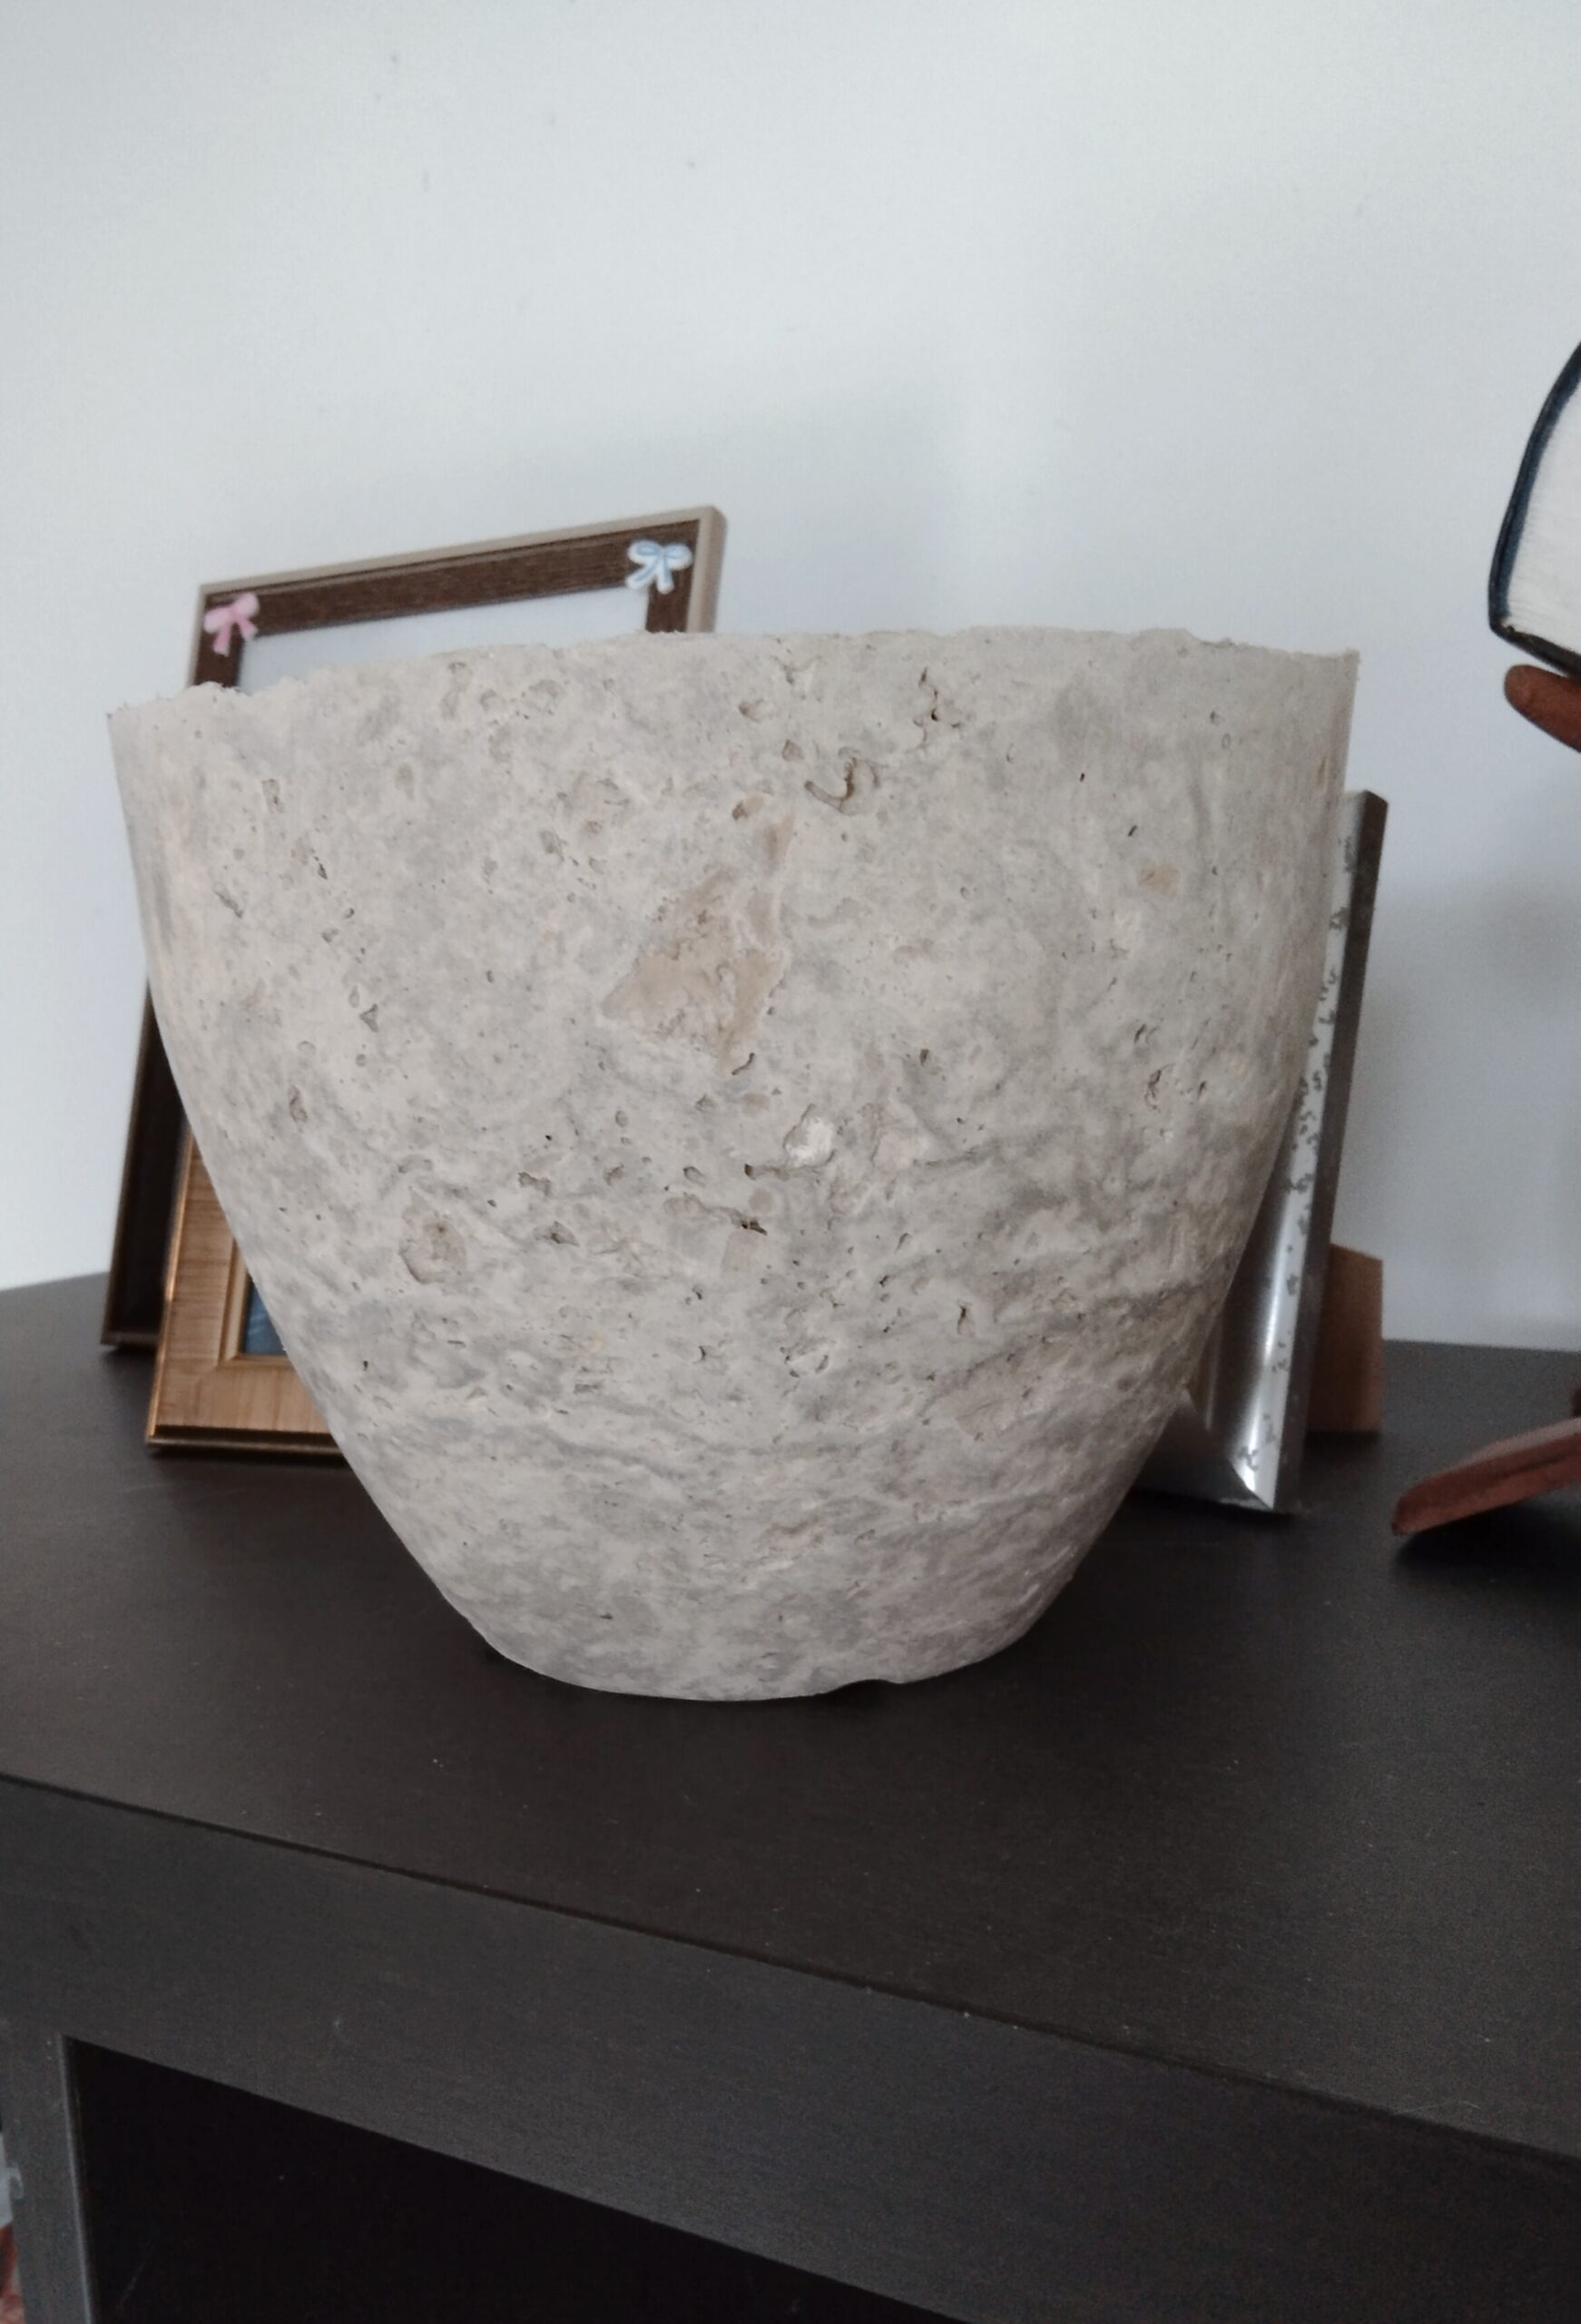
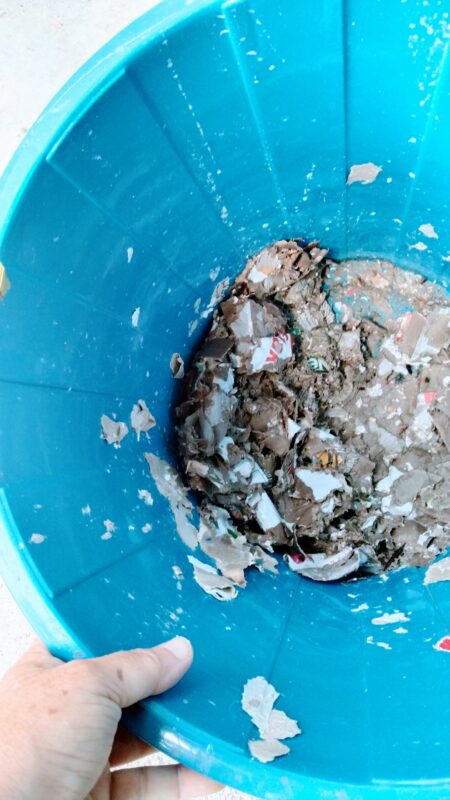
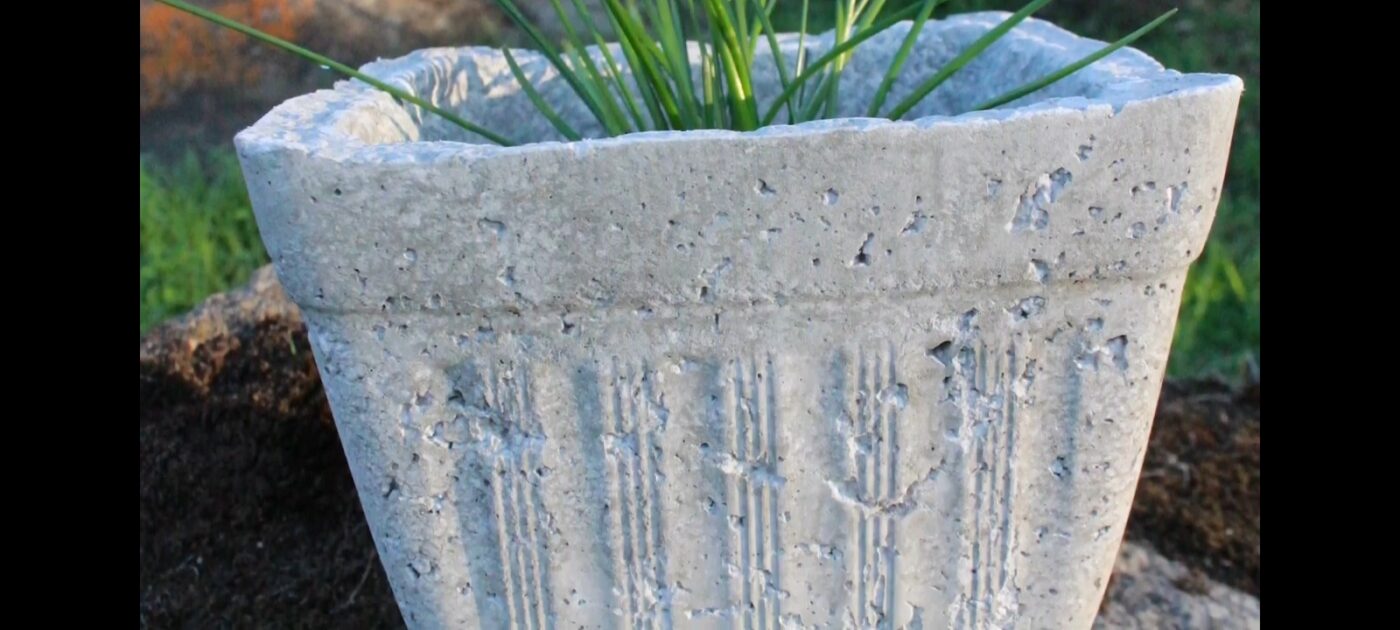
If you want to try to make a DIY inexpensive large planter, I suggest you start with a small pot for your first papercrete project. (I give full instructions down below.) Papercrete is a mixture of cement and paper pulp. You can add vermiculite or styrofoam bean bag beads to make the pots lightweight. I recently created the pot above with a mixture of cement and paper pulp. The paper pulp was from cardboard I had collected over a few months. I cut the cardboard into strips and put it in a bucket (below) of water. I let this sit in my bathroom for several days, tearing the strips into small pieces.
Recipe For Papercrete For Inexpensive Large Planter Ideas
For inexpensive large planters, I would start with a small amount of papercrete. New batches are easy to mix up. The recipe is:
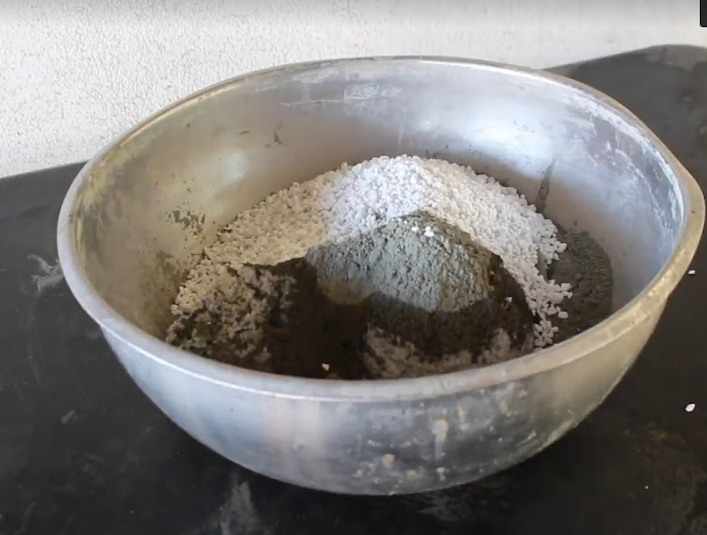
- Three parts paper pulp. Squeeze excess moisture from the paper pulp but keep it damp so you can use this as the moisture in your papercrete mixture.
- Two parts portland cement.
- One part vermiculite or styrofoam bean bag beads. (Vermiculite is volcano rock and very porous. (Be careful because some people sell cement rocks online as vermiculite. Reputable dealers will show a video of the porous rocks.)
- Mix together until the mass has a consistency of playdough.
DIY Inexpensive Large Planter
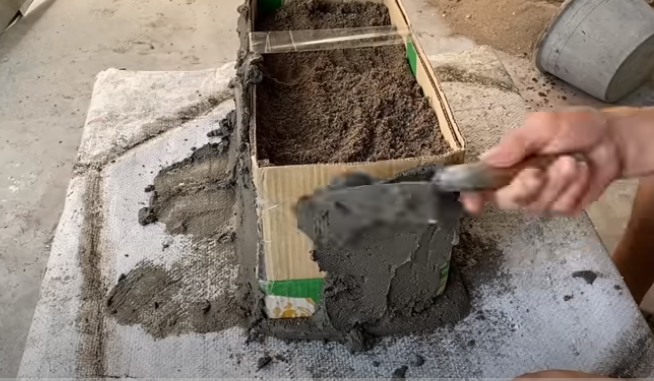
Another idea for a DIY, inexpensive, large planter is to use a cardboard box as the pot frame as opposed to using a small (or large) plastic pot. Put down a piece of newspaper and form a base layer of papercrete that is a little larger than the box you want to use. Cut the bottom out of the box and place the four sided box on the base. Fill the box with sand to help it keep its shape. Then, form sides up the outside of the box. Use a board or level to make a level rim and to help smooth the sides. You can use the level to add decorative lines around the sides.
The box will be composted inside the container once you fill it with soil and plants. You can use any size box but if you want to create a raised bed with this method, I would use thicker foam board for the sides and tape the corners together. The pictures below show the basic steps. This person used concrete and the finished product is beautiful (link below). But, papercrete makes a planter more lightweight and easier to move. This link takes you to cardboard boxes and cement on YouTube.


How To Make An Inexpensive DIY Planter
Step 1
Decide on the size and shape of your finished container. Interestingly shaped containers make beautiful pots.
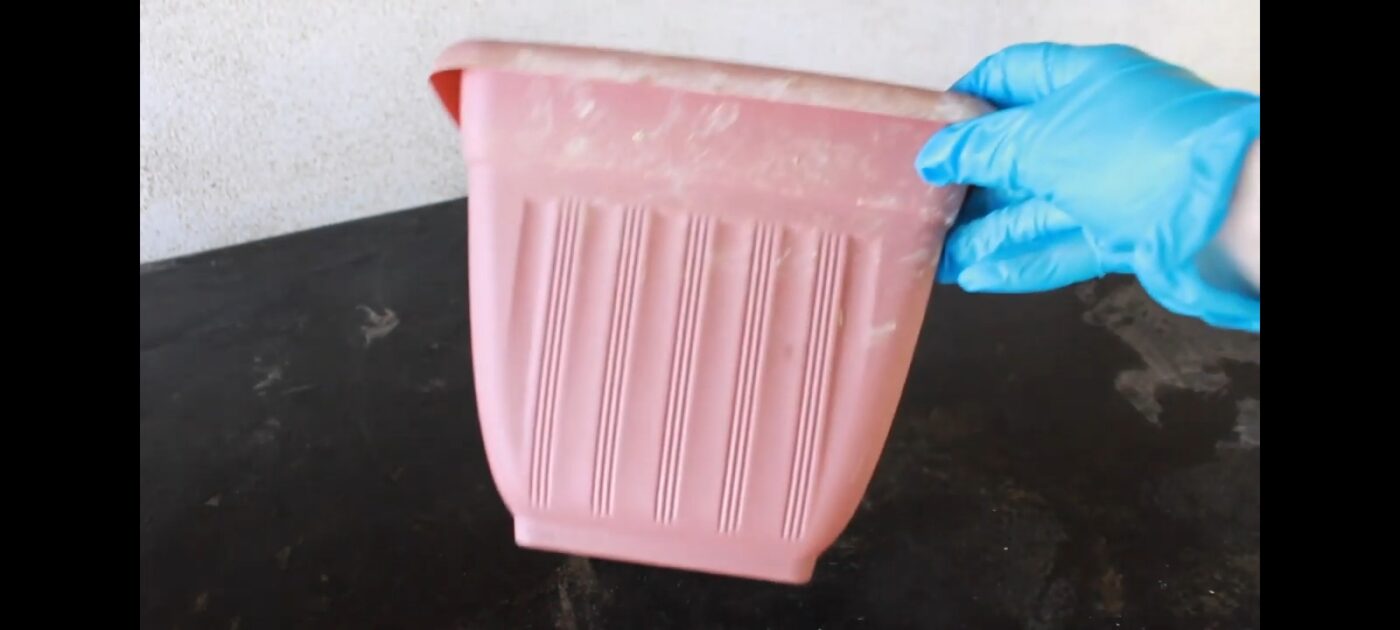
Step 2
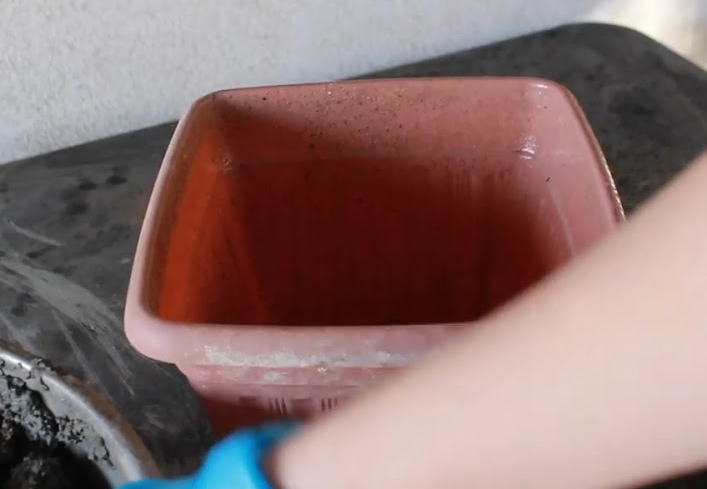
Oil, or use cooking spray, on the inside of the container so the concrete does not stick. This makes removing the finished pot a lot easier. The container below already has oil on the inside.
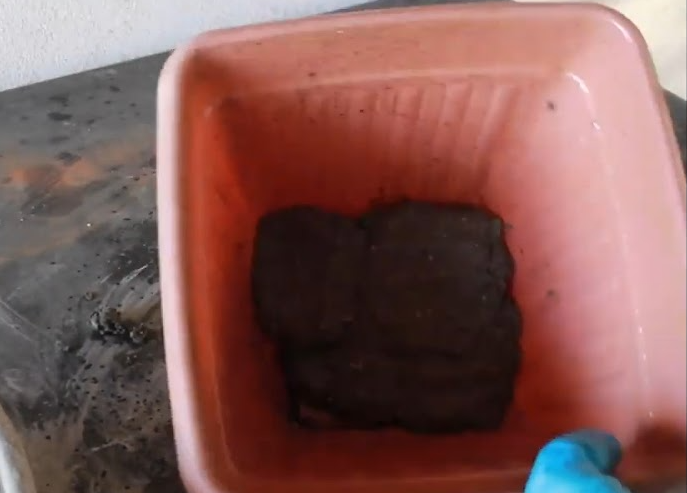
Step 3
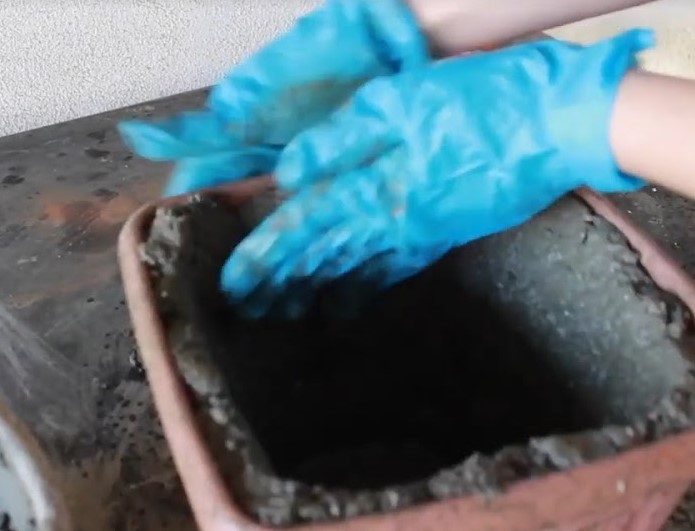
Put papercrete in the bottom of the plastic pot. Smooth it out so you have an even flat base. You can either put a small cylinder of cardboard for a drain hole now or drill a drain hole later. I just punched a hole down with my finger after I blotted up excess water. Then, when I removed the pot from the plastic container (a week later), I poked the hole all the way through.
Step 4
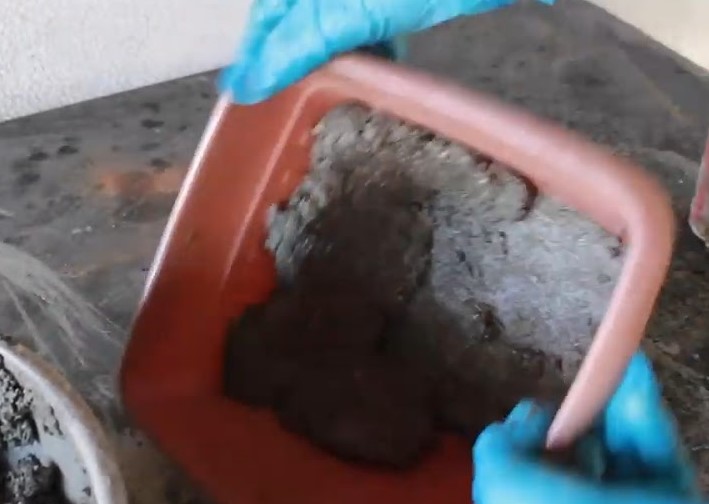
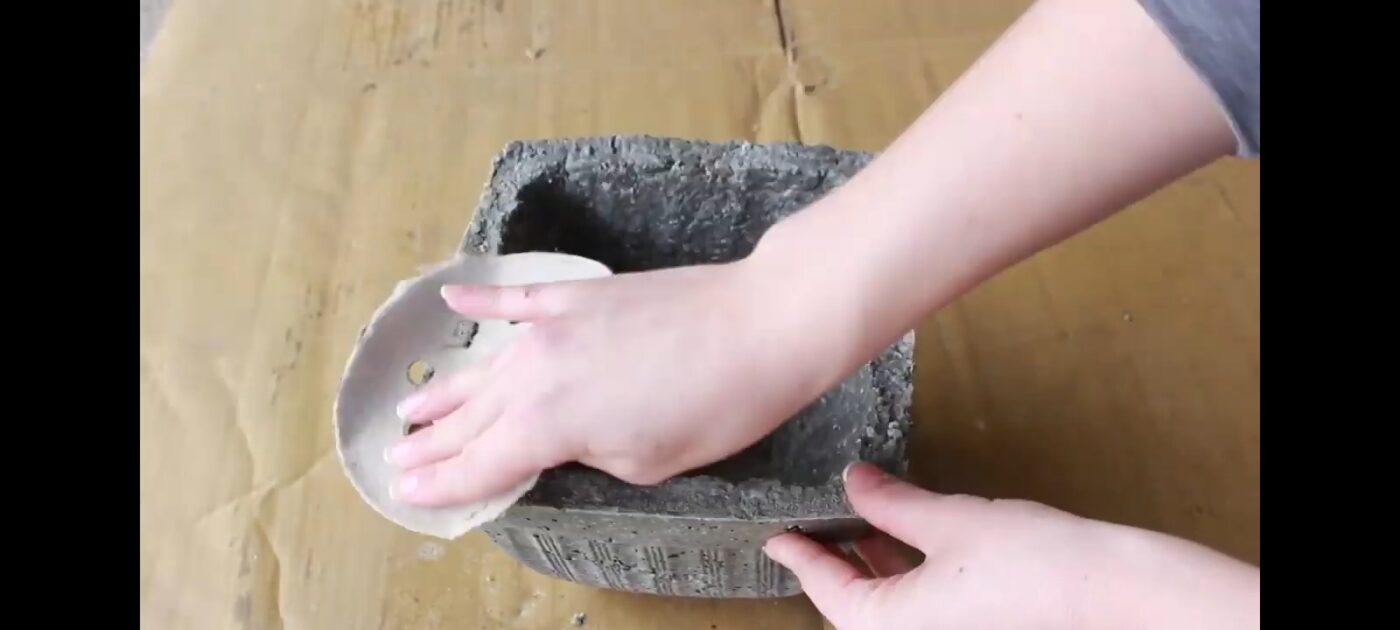
Keep the papercrete to a drier, clay consistency, so you can form the walls of the pot. This is why I do not add water to the recipe, the water from the paper pulp is usually sufficient. Use flattened balls of papercrete to build up each side wall then smooth the walls out to form equal width walls.
Use your hands and thumbs to form a smooth top edge. Work with it as you do clay to make it as smooth or rough as you want. For a smoother surface, you can use a wet sponge to create a very smooth surface but blot out any excess water that pools in the bottom. Finally, remember that beads and paper in papercrete will not be perfectly smooth, you need full concrete (with sand) for that. You can use a thin coat of cement plaster on the outside of pots to make them perfectly smooth but I prefer the unique stone effect of the papercrete.

Step 5
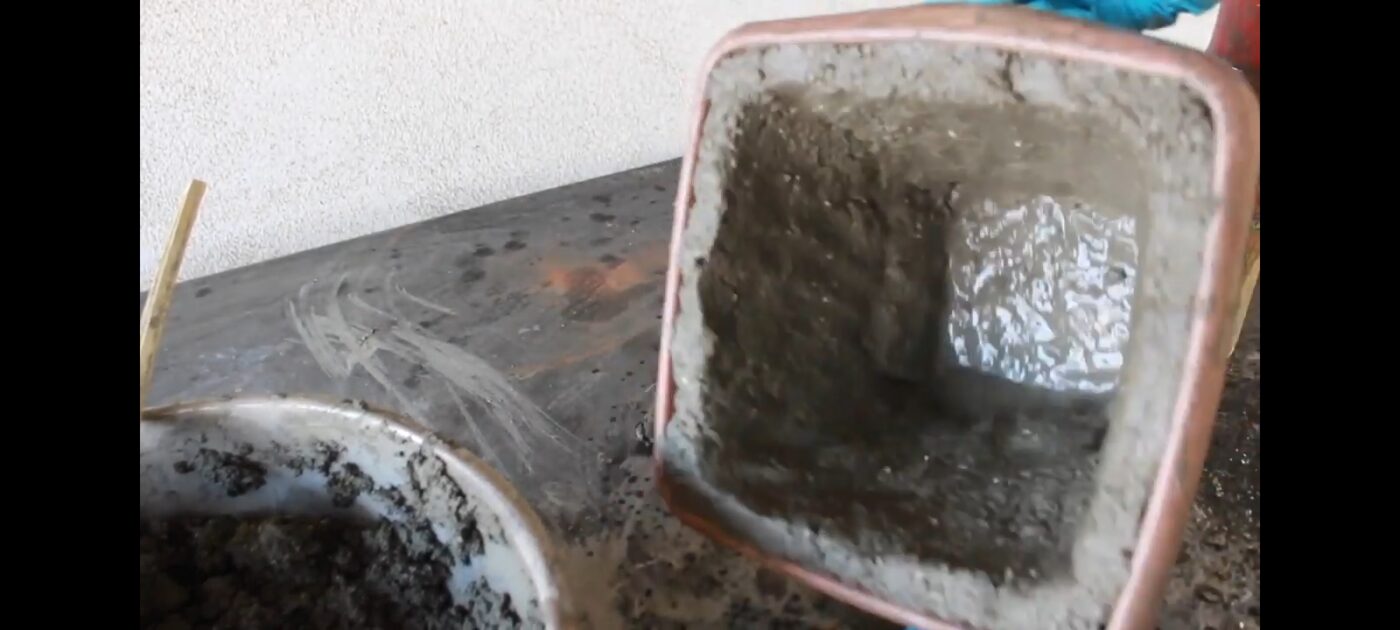
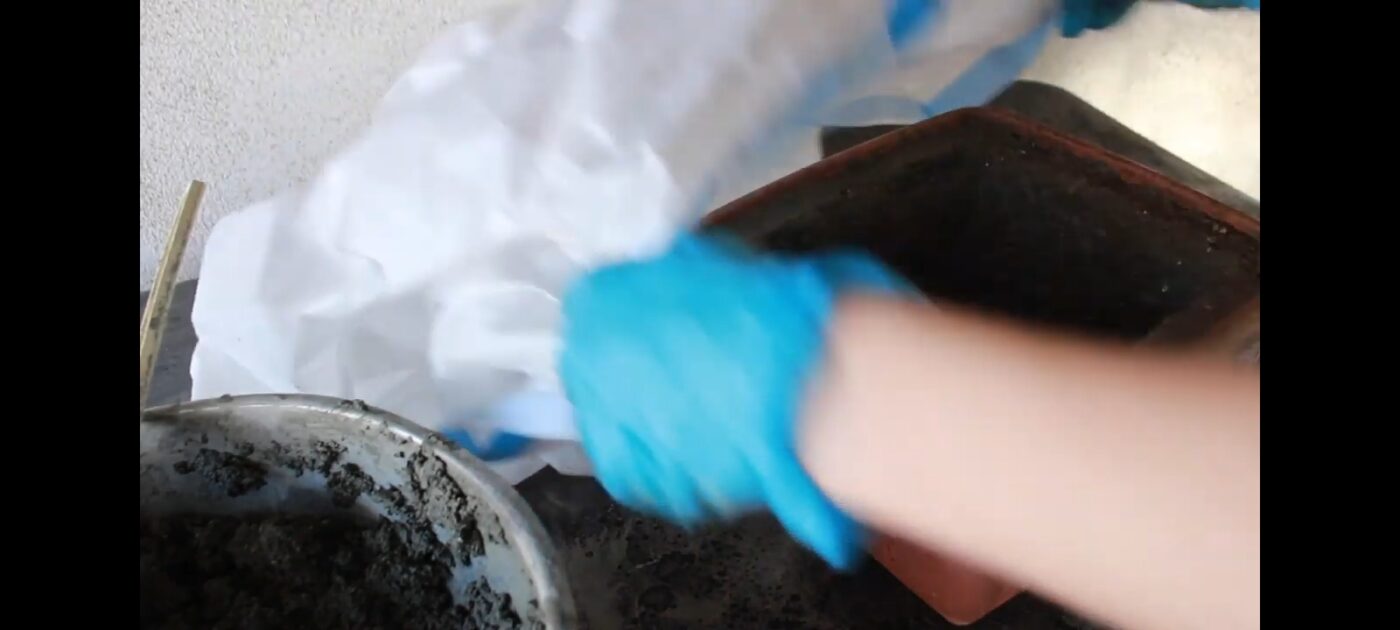
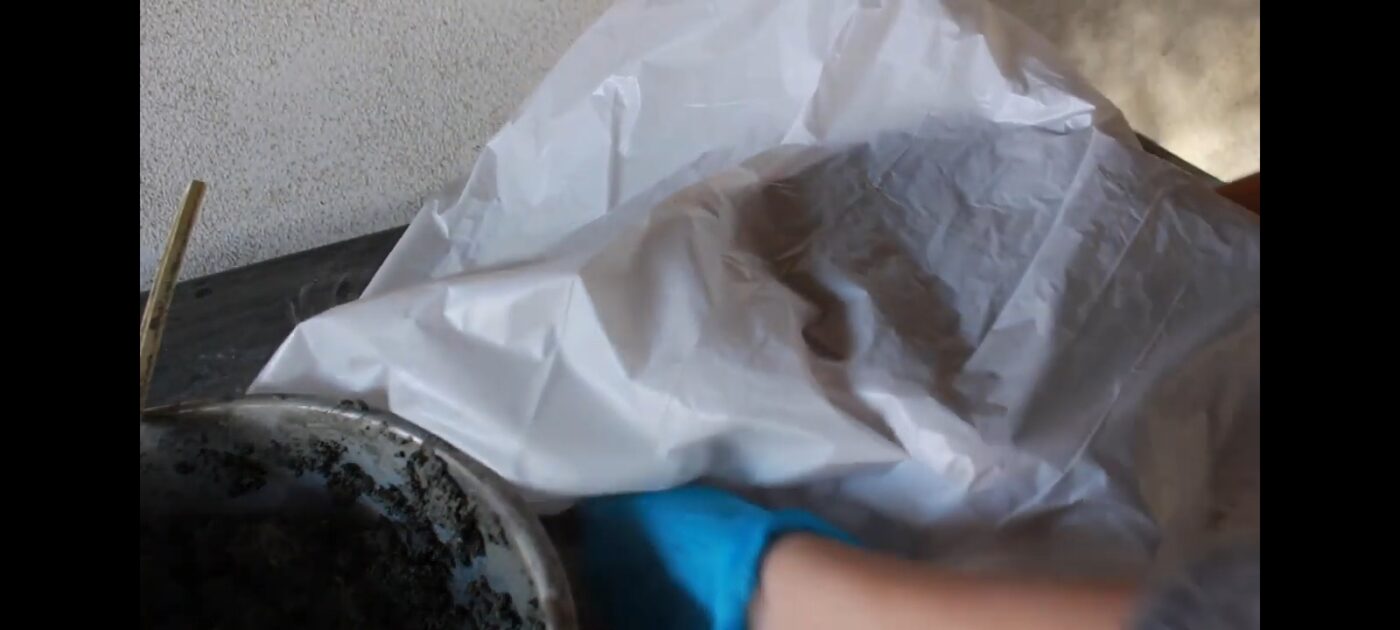
Once the pot is complete, let it set for 10-20 minutes. Water may pool at the bottom and can be soaked up with a tissue. Cover the entire pot with a plastic bag and let it start to cure for a week. The plastic helps keep it humid as it dries because the longer concrete takes to dry, the stronger it is. After a week, if you can press into the papercrete and it leaves a dent, leave it a few more days before attempting to remove the pot.
Step 6
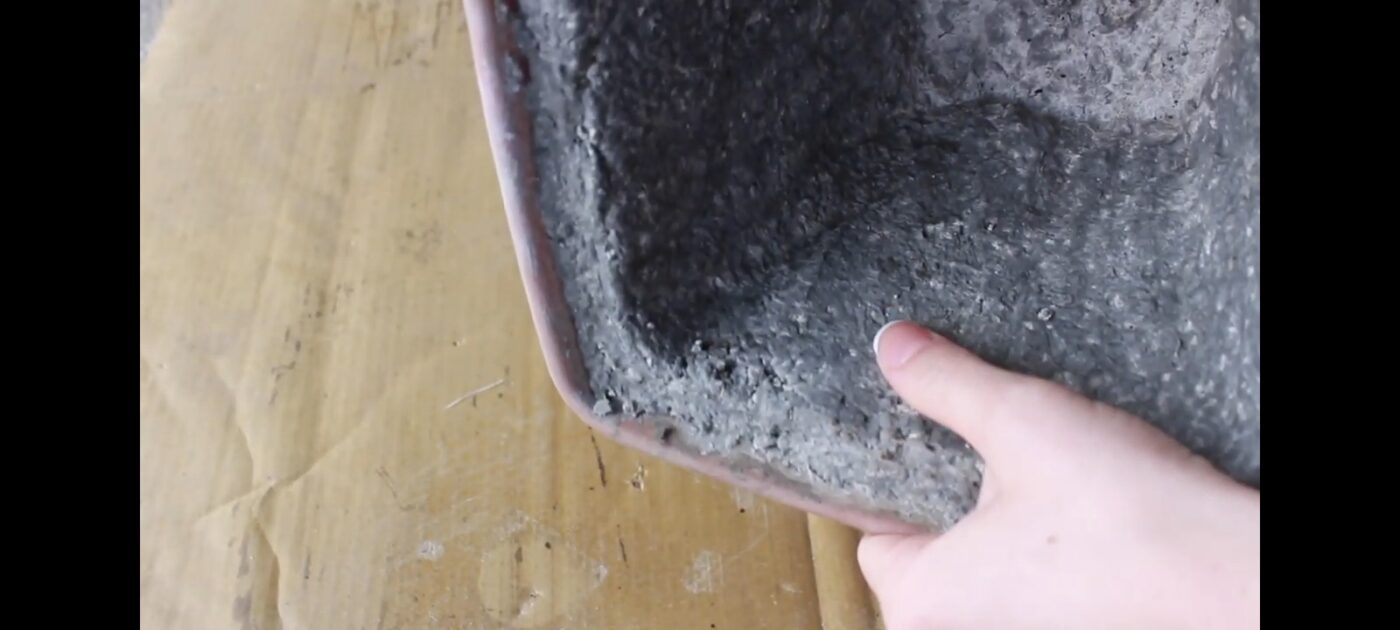
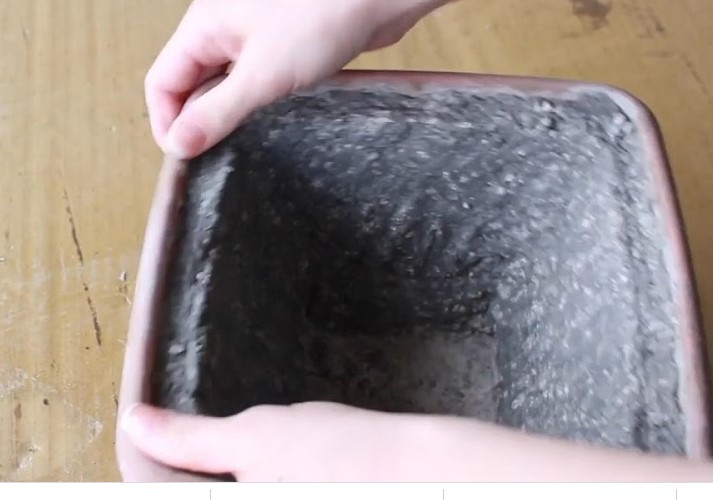
Press your thumb into the inside of the pot to check that it is dry. Once the pot is dry to the touch, gently start peeling the plastic container away from the pot on each side.
Step 7
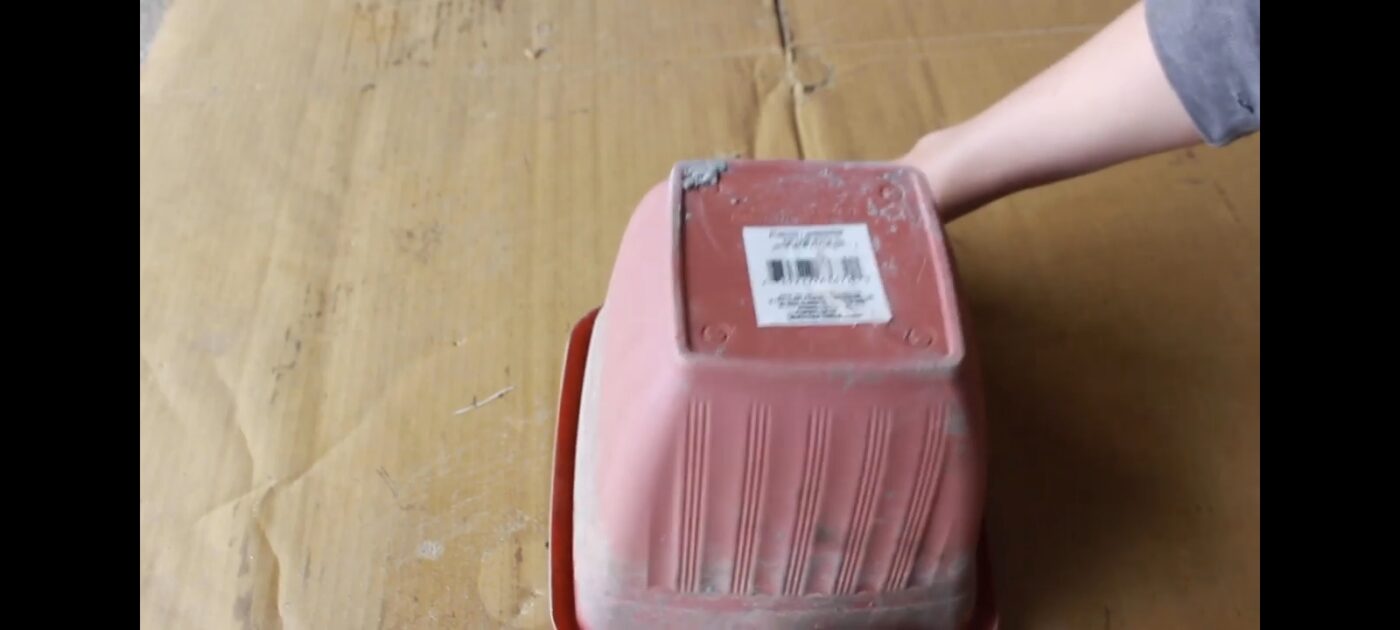
Flip the pot over and tap it sharply on the bottom. If the sides are loose, the pot should slide out. Use sandpaper to smooth the edges of the top rim.
Conclusion
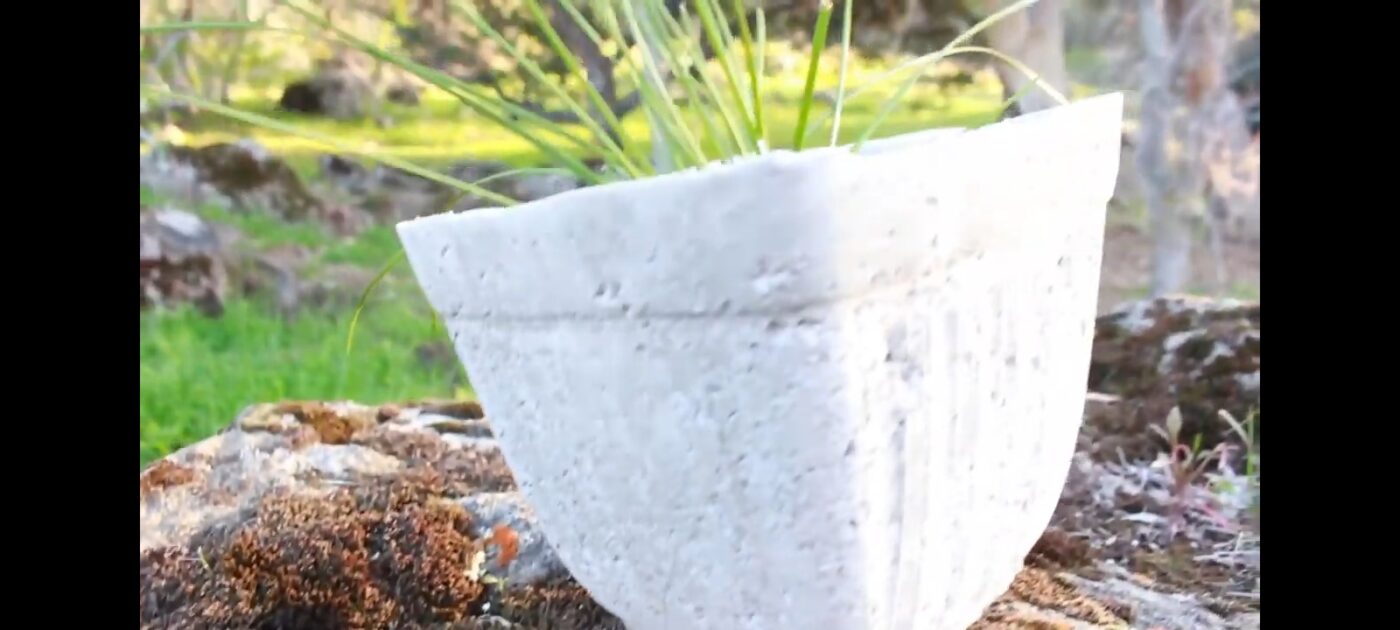
You can plant in the planter right away, or let it dry for another week or so. Creating an inexpensive large planter is not difficult with patience and planning. Reusing cardboard material helps the planet and your wallet. To make the perfect potting soil mix to put in your pot, read my recent post about the best potting soil. Let me know in the comments below if you have tried any of these inexpensive large planter ideas. I had great fun making this pot. The most time was in soaking the cardboard. The actual pot only took 15 minutes or so to create. I am going to make a giant pot next time for my garden.
