Beautiful Flower Pots You Can Create in 7 Steps
You can create beautiful flower pots where art meets function. Flowers are beautiful additions to God’s natural artwork. There is no reason why a flower container cannot be as beautiful to show off your horticultural skills. We show you how to create beautiful flower pots in 7 easy steps.
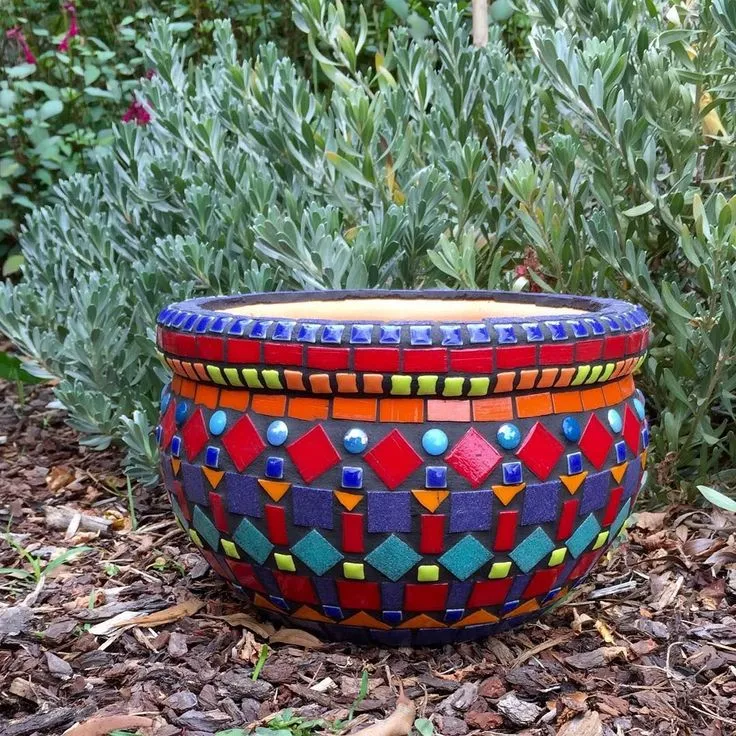
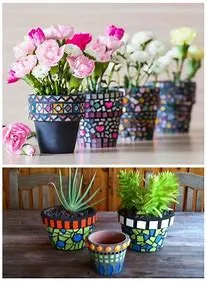
Inspiring Mosaic Patterns For Flower Pots
Inspiration can come in many forms whether geometric, floral, or natural. Keep in mind the overall theme of your patio garden. Are you going for a tropical look, a formal garden, or a casual meeting space? Let your imagination take flight but start your first mosaic attempts on a simple design.
Steps For Creating A Beautiful Flower Pot
- Clay Pot
- Colored Ceramic Tile
- Newspaper
- Hammer
- Protective Eyewear
- Cloth
- Rubber Gloves
- Mortar – (polymer-fortified, thin-set mortar)
- Grout
1. Choose & Prepare Your Clay Pot
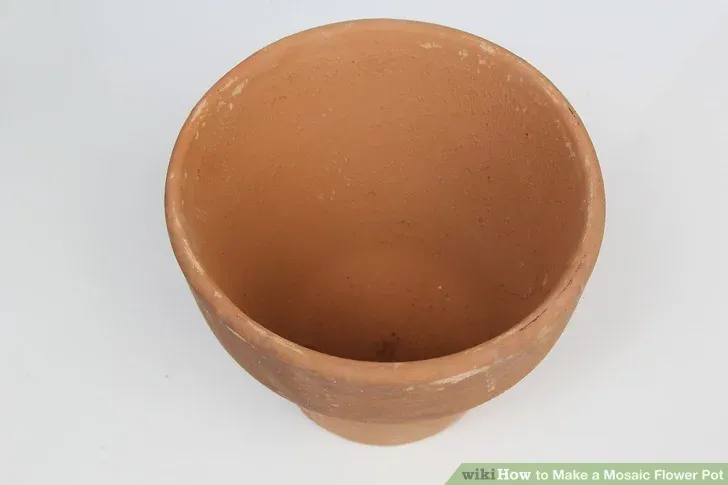
Choose the pot you’d like to use and make sure it us clean and ready for the ceramic tiles.
- Wash the inside and outside of the pot. Use soap and warm water with a clean washrag to scrub the pot (even if you buy a new pot) and then rinse with warm water.
- Allow the pot to dry in the sun before adding tiles. The pot should be thoroughly dry so the glue sticks to the pot.
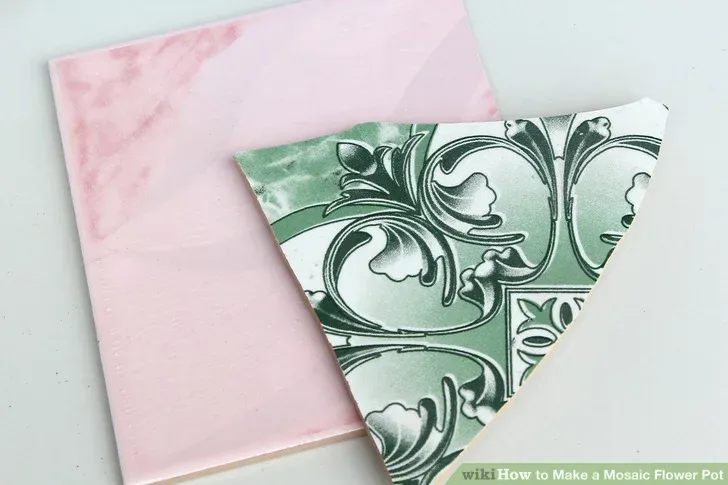
2. Select Your Tile Colors for Your Beautiful Pot
Select tile colors that compliment each other. The colors and style of the tile will create the look and feel of the beautiful mosaic pot you create.
- Choose sturdy ceramic tile that can be easily broken into pieces. Ask a professional at the shop if you are unsure whether the tile can be broken into smaller pieces.
- Select a variety of colors that compliment each other.
- Choose accent colors or add sparkle with glittery or bronzed tile.
- Visualize how you want the pot to look at the end. You may need to sketch out the design on paper first so you know what colors you need. Browse online or look on Pinterest to find interesting designs.
3. Create the Mosaic Tile
You will need work gloves, protective eyewear, a small hammer, a clear workspace and newspaper or a towel.
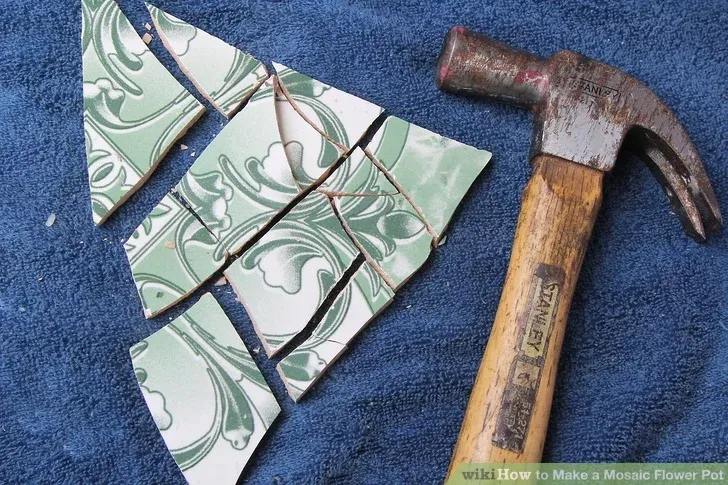
- Lay tile on a flat surface and place between several layers of newspaper or a towel. This way you will keep the tile in one area when you break it.
- Gently tap the tile with your hammer until you feel pieces breaking. Don’t smash the tile as it may disintegrate. Be careful of smashing your fingers!
- Remove the cover to reveal what you’ve broken. You can use a nipper or wire cutter to re-shape pieces if necessary or to complete breaking tile that may not have broken all the way.
4. Prepare the Mortar Adhesive
Prepare the mortar in order to adhere the tile to the flower pot. You’ll want to pick up polymer-fortified, thin-set mortar for best results.
- Add water to mortar powder until it becomes the same consistency as peanut butter. Mix thoroughly so that the powder is fully integrated into the mixture.
- Use the mortar immediately so that it does not dry or change consistency over time. Prepare the mortar when you are ready to create your mosaic design and only enough for you to use in 15-20 minutes (if you are using a large pot). You can mix up more as you need it.
5. Create Your Mosaic Design
Spread a thin layer of mortar on the pot and affixing a tile piece to the flower pot. Refer to your sketch if you created one.
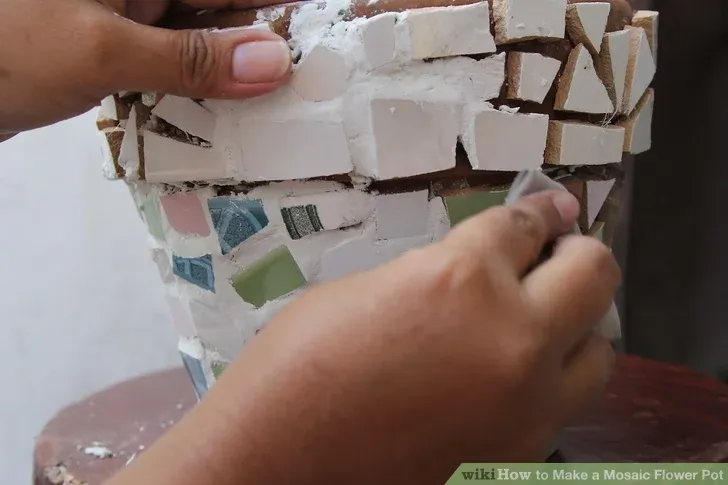
- Press the tile piece firmly against the flower pot. Hold it for a few seconds or until it has adhered to the pot.
- Leave ¼ inch space between pieces of tile. The grout will go in the spaces between tile. Re-size tile if the pieces are too large or they do not fit properly. Try to get the tile to be the same height so you do not have tiles sticking out. In other words, do not get a big glop of mortar under one piece and a thin film under the one next to it so they appear uneven. Cup your hands around the pot and press the pieces in firmly.
- Add any other design elements such as glittery tiles or bronzed tiles or stones to add interest, if they fit into your theme.
- Complete the design. Allow the pot to sit and dry overnight. The mortar will need to set up for 24 hours. Leave the pot in a cool, dry area until its fully set.
6. Mix The Grout To The Same Consistency
If you’d like to add interest to the grey/white grout, mix with acrylic paint to create colored grout. You’ll need to use gloves as you’ll be placing the grout on your pot with your hands.
- Combine water to the grout to create a mixture of peanut butter consistency.
- Scoop a handful of grout and slather it all over the pot (even over the tiles as we will clean those later). Press the grout into the 1/4″ gaps. Be sure you take care to fill in every section between the tiles.
- Use a clean, damp cloth or sponge to wipe excess grout off of the pot to remove the grout covering the tile/stones. Rinse your cloth/sponge often. After you get as much grout off as you can, replace the rinse water with clean water. Clean your sponge or cloth and go over the entire pot again using clean water.
- Once slightly dry, take a thin wire brush and brush over the entire pot when you’ve finished grouting to ensure all excess grout falls off the tiles. Go over the pot with a clean damp cloth to remove brush marks and any grout film.
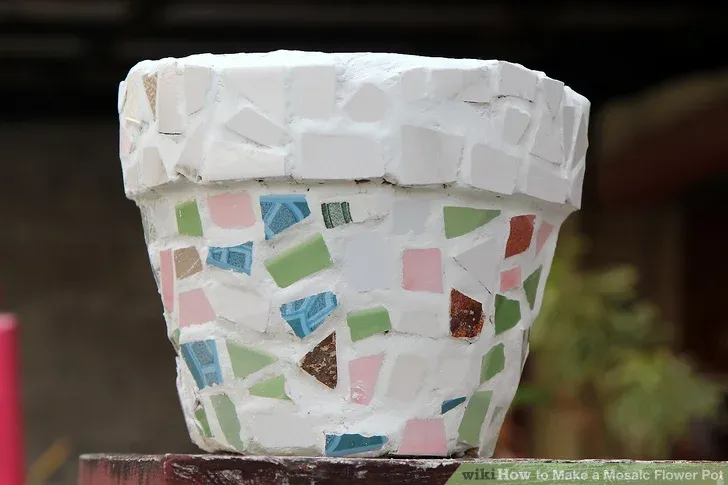
7. Allow Your Beautiful Flower Pot To Dry
Dry the beautiful flower pot for at least 2 hours before using it in your garden.
How To Care For Your Mosaic Flower Pots?
Beautiful flower pots like these mosaic flower pots can be cleaned easily with a soft, damp cloth. Once the mortar is dry, you do not need to worry about the grout coming loose. It is like the grout in bathroom tile so it can stand up to repeated water spray. If you chose glass glaze or glittery tiles, you will want to clean them weekly to keep them sparkling.
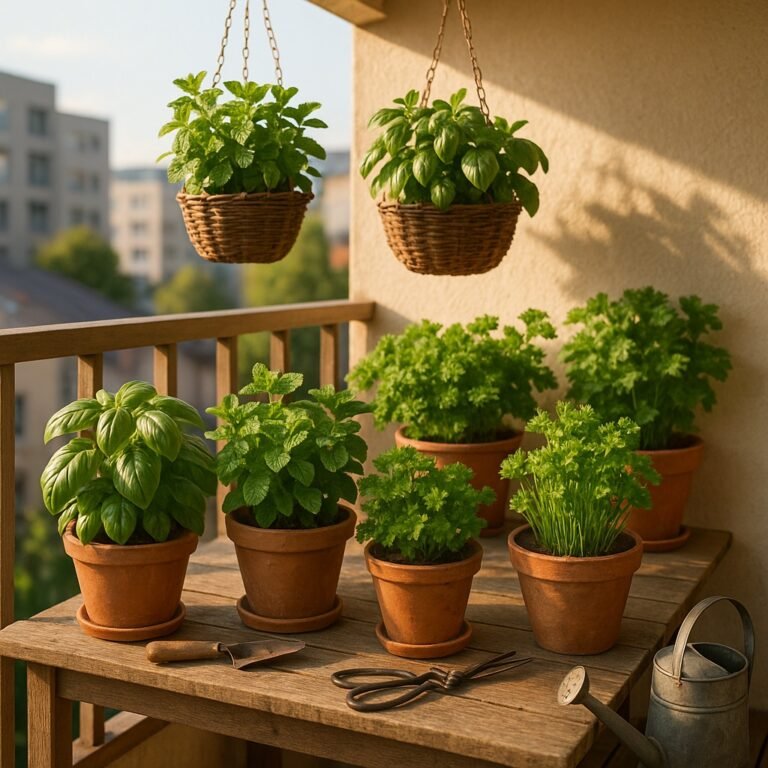
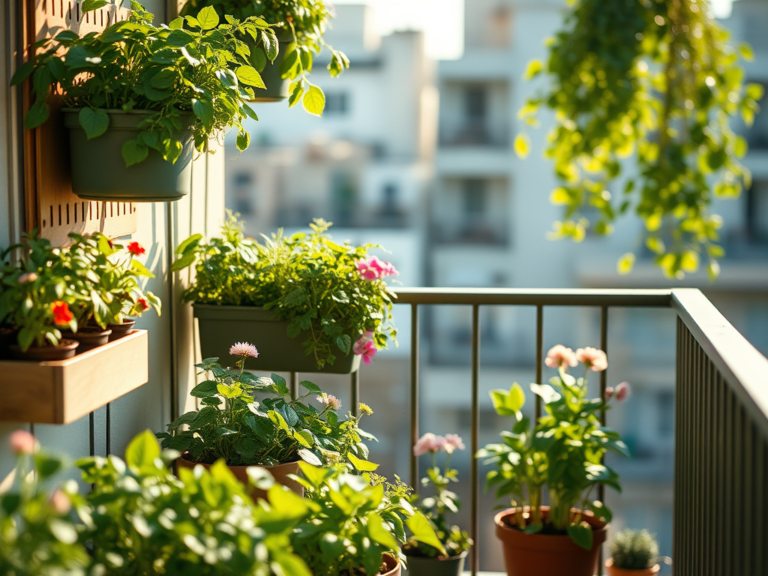
Beautiful Flower Pot Arrangements
Beautiful flower pot arrangements add symmetry to areas where planting is a challenge or impossible. By varying the height, color, and shape of pots, you create a tapestry of interest. Here are some suggestions for beautiful flower pot arrangements:
- Consider the types of plants so you keep full sun or shady plants together.
- Decide on the amount of space you will use. It may be helpful to sketch out the area or use graph paper.
- Choose your color scheme and don’t forget to accent with white or black pots.
- Use plants that are “annuals” or “bedding plants” as these will bloom the entire season.
Conclusion
Creating your own beautiful flower pots can be a rewarding weekend project. In fact, by combining papercrete pot making (link to How to Make DIY Planter out of papercrete) with mosaic tiles will give you a light-weight but beautiful design.